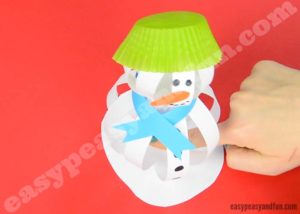
Christmas is an event looked forward to by everyone, people look forward to it because of the fun, the happiness, the holiday and the activities that take place during this period. You can make Christmas even more fun for your children by joining them in creating crafts to beautify the environment in this season.
One of such crafts is the Paper Snow Man Craft, you are going to learn the step by step way to go about this,
Paper Snowman Craft
What You Need
2 sheets of white paper (plain print paper will do although construction paper will work best)
- paper in any other colour (and a bit for orange nose)
- black marker
- glue, scissors
- buttons
- cupcake liner
STEP 1
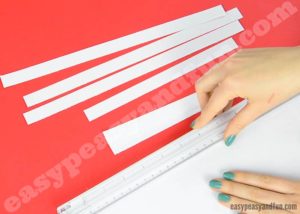
Start by cutting 2 sets of 4 strips of paper (make a set of the strip longer than the other set), cut the strips by cutting across the sheets of white paper with a ruler, make it as long as an averagely long ruler.
STEP 2
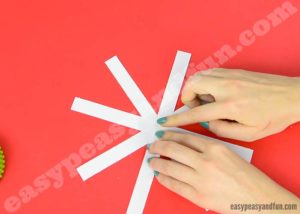
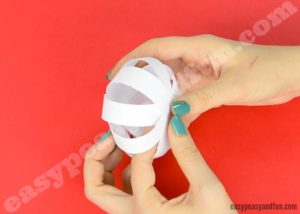
Assemble the strips in and try to form a circle with them, to form a ball (do this by joining all the strips together at the top.
STEP 3
Repeat the same process for the other set of strips
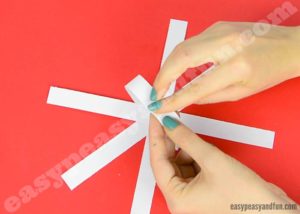
STEP 4
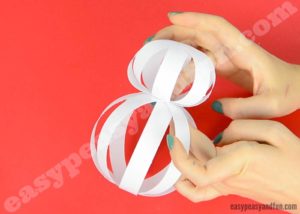
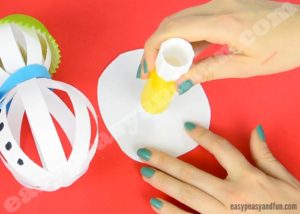
Join the two balls together with glue, putting the smaller paper ball on the top of the bigger set
STEP 5
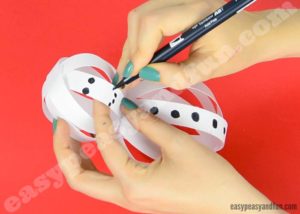
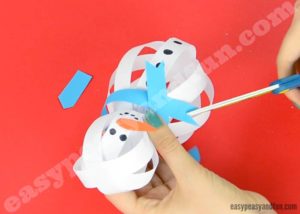
Draw on or stick on all the details, the eyes, nose and buttons.
STEP 6
Cut a long strip of colour paper and make a scarf
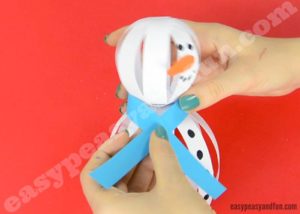
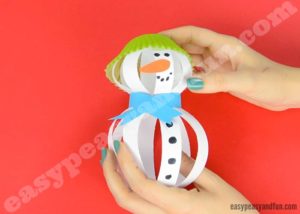
There you have it, your beautifully made Snowman, do this with your children, mix it with a lot of colours.
To learn more ways of inspiring and nurturing creativity in your children, please visit http://springmeadowedutainment.com/
Source: easypeasyandfun.com

